
Modern homeownership demands a continuous balancing act: maintaining spotless, pristine living spaces while juggling personal and professional commitments. Finding the time for exhausting, weekend-long deep cleaning sessions is rarely practical for busy households. However, allowing grease, mineral scale, airborne dust, and environmental pollution to accumulate across interior and exterior surfaces does far more than compromise your home’s aesthetic appeal. Over time, unaddressed soil buildup accelerates material degradation, dulls protective factory finishes, and reduces the overall lifespan of expensive building components.
The solution lies in adopting smart, high-efficiency cleaning hacks that maximize visual and hygienic results while requiring minimal manual effort. By understanding the chemistry behind common household stains and employing non-destructive, surface-safe cleaning techniques, you can maintain every zone of your property with ease. From restoring sticky kitchen storage areas and polishing streak-free glass to lifting stubborn vehicle oil drips from exterior driveways, implementing streamlined maintenance workflows protects your valuable investment while freeing up your weekends.
Streamlining High-Traffic Kitchen and Cabinet Upkeep

As the functional center of the home, the kitchen endures relentless daily exposure to airborne cooking oils, food splatters, high humidity, and heavy foot traffic. Over time, microscopic fat particles combine with floating dust to form a tough, sticky film that coats vertical panels and decorative hardware. Cleaning these surfaces effectively requires smart emulsifying chemistry rather than aggressive scrubbing that can ruin delicate surfaces.
Degreasing Wooden and Painted Surfaces Without Harsh Scrubbing
When oils vaporize during stovetop cooking, they drift upward and settle onto surrounding woodwork. As these lipid layers age and oxidize, they harden into a tenacious yellowed coating that resists standard household multi-surface sprays. Trying to force this residue off with harsh scouring pads or abrasive powders permanently scratches clear topcoats and dulls paint luster.
To lift stubborn grease safely without compromising underlying protective sealants, follow this gentle, non-abrasive method:
- Combine two cups of warm distilled water, one tablespoon of concentrated liquid dish soap, and two tablespoons of baking soda in a spray bottle.
- Spritz the solution lightly over grease-prone vertical storage doors, allowing the mild alkaline mixture to break down acidic lipid bonds for three to five minutes.
- Wipe the surface along the wood grain using a clean, damp microfiber cloth, applying moderate pressure to lift suspended grease particles.
- Pass a dry terrycloth towel immediately over the cleaned area to remove remaining moisture and prevent joint swelling along wood seams.
Using overly harsh chemical solvents or coarse scrub sponges strips away protective factory coatings, causing premature finish failure on expensive woodwork inside a finely crafted custom home. Adopting mild, emulsifying cleaning solutions preserves the original richness of natural finishes while keeping custom kitchen cabinets looking immaculate.
Rapid Interior Shelf and Hardware Refresh Hacks
The interiors of food storage units and their surrounding metal hardware quickly accumulate crumbs, sticky ring marks, and fingerprint oils that dull their appearance over time:
- Empty storage shelves one section at a time and use a vacuum hose with a soft brush attachment to lift loose crumbs and dust from corners.
- Wipe down interior shelf surfaces using a dilute solution of warm water and white distilled vinegar to sanitize surfaces and eliminate lingering food odors.
- Install washable, non-adhesive silicone shelf liners that can be easily pulled out and rinsed in the sink whenever sticky jars or liquid spills occur.
- Polish brushed metal handles, pulls, and hinges using a microfiber cloth dampened with isopropyl alcohol to dissolve finger oils instantly without tarnishing surrounding wood finishes.
Establishing a quick, routine wipe-down schedule prevents minor food drips from hardening into stubborn crusts, ensuring interior storage zones remain fresh, organized, and easy to maintain throughout the year.
Rapid Floor Maintenance and Surface Restoration
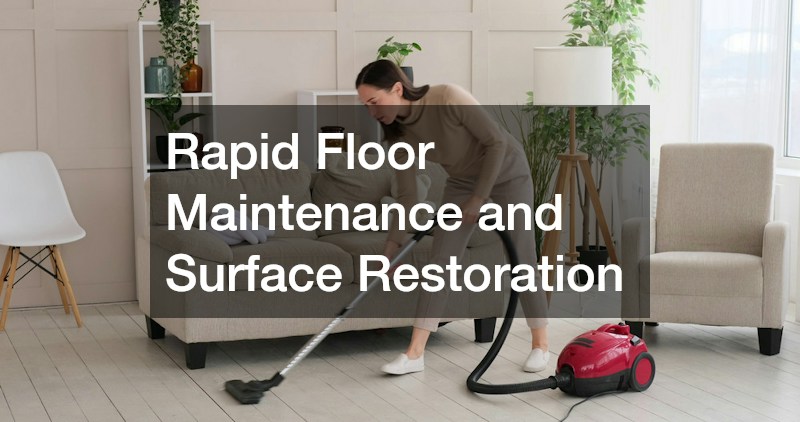
Flooring finishes and bathroom fixtures endure constant mechanical wear and liquid contact, making them primary targets for soil buildup and mineral scale. Implementing low-effort, preventative maintenance hacks preserves underlying building materials and keeps plumbing hardware operating at peak performance.
Microfiber Dusting and Moisture-Controlled Mop Techniques
Whether your home features solid hardwood, luxury vinyl plank, engineered timber, or natural stone tile, standing water remains the single greatest threat during routine maintenance. Excess water seeps into microscopic plank joints, causing edges to swell, finish layers to peel, and subfloor materials to rot over time.
To clean hard flooring efficiently while preventing moisture-induced damage, utilize this simple daily and weekly routine:
- Sweep or dry-dust floors daily using a wide, high-density microfiber dust mop to capture fine grit before foot traffic grinds abrasive particles into clear topcoats.
- Mix a pH-neutral cleaning spray by combining equal parts water and isopropyl alcohol with two drops of gentle dish soap in a fine-mist bottle.
- Lightly spray a damp microfiber flat mop pad rather than sloshing bucket water directly across floorboards, ensuring ultra-fast evaporation times.
- Spot-treat sticky food spills or heel marks using a quick dab of rubbing alcohol on a microfiber cloth, which dissolves residues instantly without leaving cloudy film behind.
Avoiding soaked string mops or high-temperature steam cleaners prevents severe subfloor cupping, edge warping, and adhesive failure that frequently force homeowners to seek professional flooring services. Controlled, dry-mist mops deliver a flawless, streak-free shine while preserving structural floor integrity.
Clearing Fixture Mineral Deposits Before Scale Causes Failures
Dissolved minerals like calcium and magnesium naturally precipitate out of hard water supplies, crusting over faucet aerators, showerheads, and sprayer nozzles. This scale restricts water volume and creates uneven, spraying streams:
- Fill a small plastic bag halfway with white distilled vinegar and submerge the scaled faucet aerator or showerhead directly inside the acid bath.
- Secure the bag around the fixture neck using a sturdy rubber band, allowing the mild acetic acid to dissolve stubborn calcium buildup for two hours.
- Remove the bag and gently scrub away loosened mineral crust using an old soft-bristle toothbrush or nylon detail brush.
- Flush the fixture with hot running water for one full minute to clear remaining internal lime fragments from internal channels.
Routine descaling maintains optimal water pressure, reduces stress on internal cartridge valves, and prevents high-pressure spray leaks that lead to costly emergency plumbing repairs. This quick, hands-off vinegar soak restores fixture performance without requiring complex mechanical disassembly.
Safe Interior Glass and Dust Removal Around Sensitive Zones
Windows, ceiling fixtures, and decorative lighting serve as major focal points for natural and artificial illumination. However, static charges attract floating dust to light fixtures, while glass panes easily gather smudges, pet nose prints, and environmental film.
Streak-Free Glass Polishing Using Squeegee and Microfiber Hacks
Standard blue glass sprays combined with paper towels often smear oils across glass panes while leaving behind static-charged paper fibers that attract fresh dust within hours. Achieving crystal-clear glass requires a professional-style squeegee technique using simple household ingredients:
- Mix one gallon of warm water with one teaspoon of liquid dish soap and two tablespoons of isopropyl alcohol in a shallow bucket.
- Apply the cleaning mixture generously across the glass pane using a dense microfiber washer sleeve to dissolve greasy film and airborne grime.
- Pull a clean, high-grade rubber squeegee horizontally across the pane from top to bottom, wiping the rubber blade with a damp cloth after each pass.
- Detail perimeter glass edges using a dry lint-free microfiber cloth to catch stray water droplets before they dry into unsightly spots.
Keeping interior and exterior glass free from etched mineral spots prolongs optical clarity and preserves delicate frame seals, extending the service life expected from an installed window company product.
Safely De-dusting Fixtures, Wall Plates, and Exhaust Fans
Dust accumulation on electrical switches, light fixtures, and ceiling fan blades degrades indoor air quality and creates an unkempt appearance throughout the home:
- Slide an old pillowcase over individual ceiling fan blades, pulling the fabric backward to trap dust inside the cloth rather than dropping it on furniture below.
- Use a dry microfiber cloth or a specialized static duster to wipe down plastic switch plates, outlet covers, and wall sconces safely.
- Vacuum bathroom ventilation grilles using a soft brush attachment to clear lint webs that restrict exhaust airflow and cause fan motors to overheat.
- Spray a light mist of antistatic furniture polish onto a cloth before wiping metal chandelier arms to repel future airborne dust particles.
Never spray liquid cleaners directly onto electrical outlets, light sockets, or wall switch plates. Using dry microfiber tools prevents moisture from creeping into energized electrical boxes, avoiding dangerous short circuits that require professional troubleshooting from local electricians.
Curb Appeal Maintenance for Hardscapes and Paved Entryways

Exterior driveways, stone walkways, and brick masonry features form the initial curb-appeal impression of your property. However, hardscapes constantly endure engine oil drips, tire marks, organic moss, and chalky white mineral efflorescence that spoil their natural beauty.
Lifting Oil and Tire Marks from Concrete and Asphalt
Vehicle fluid leaks penetrate porous concrete and asphalt capillaries quickly, leaving dark, unsightly stains that resist basic garden-hose rinsing:
- Cover fresh oil drips immediately with a generous layer of clay cat litter, stepping on the granules to crush them into the stain to absorb liquid oil.
- Sweep away saturated litter after two hours and apply a thick paste made from baking soda, powdered laundry detergent, and a splash of warm water.
- Scrub the paste vigorously into concrete pores using a stiff nylon-bristle brush, allowing the mixture to break down embedded hydrocarbons for twenty minutes.
- Rinse the area thoroughly with hot water while brushing to flush dissolved oils out of the masonry matrix.
Promptly treating vehicle oil drips prevents petroleum compounds from softening asphalt binders, preserving the structural integrity of paved surfaces installed by a professional driveway contractor.
Removing Moss, Algae, and Efflorescence from Brick and Stone
Shaded brick walkways, retaining walls, and stone facades frequently develop slippery green algae blooms or chalky white salt deposits known as efflorescence:
- Combine one gallon of water with two cups of oxygenated bleach powder (sodium percarbonate) in a garden pump sprayer.
- Spray the solution over algae-covered brick or stone, allowing the oxygenating bubbles to break down organic spores for fifteen minutes without drying out.
- Scrub vertical masonry joints using a long-handled deck brush to lift embedded moss and white salt crusts safely.
- Rinse hardscapes thoroughly with clean water to reveal bright, stain-free stone surfaces beneath.
Avoid using high-pressure blast nozzles or harsh muriatic acid washes on residential stone and brickwork. Excessive water pressure strips away protective glaze layers and erodes mortar joints, causing structural crumbling that ultimately requires remediation by a specialized masonry company.
Overhead Exterior Protection and Structural Cleanup Hacks
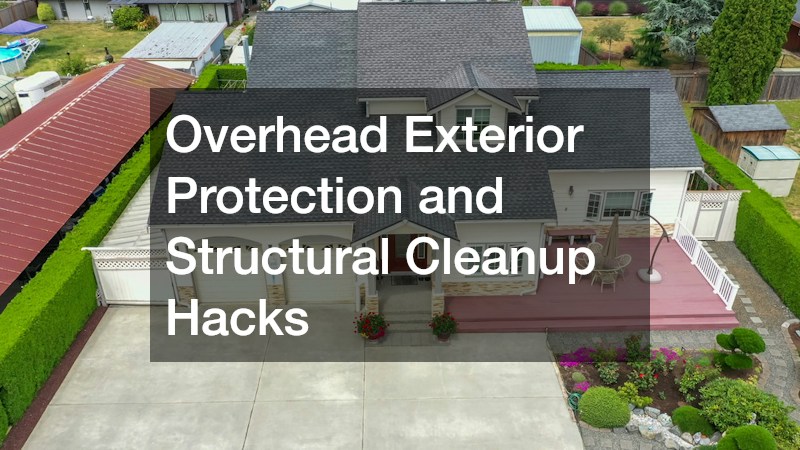
The upper roof envelope and post-renovation living spaces present unique cleaning challenges that require safe, systematic maintenance protocols. Protecting these structural areas prevents water infiltration and keeps indoor air clean.
Safely Clearing Debris and Algae from Overhead Shingle Valleys
Overhanging tree limbs drop leaves, twigs, and needles into roof valleys and gutter troughs. As organic debris decomposes, it traps moisture against shingle granules, encouraging dark cyanobacteria streaks and moss growth that lift shingle edges:
- Remove heavy leaf accumulations from low-slope roof valleys using a telescopic roof rake while standing safely on the ground.
- Apply an eco-friendly zinc or copper sulfate spray solution to shaded roof slopes using a low-pressure garden sprayer to kill moss spores gently.
- Flush gutter channels with a curved hose attachment to clear lingering silt and ensure downspouts flow freely during heavy rainstorms.
- Trim overhanging tree branches back six feet from the roofline to increase sunlight exposure and reduce falling leaf drop.
Never use high-pressure power washers on asphalt shingles. High-pressure water strips away protective ceramic granules, shortening shingle lifespan and voiding product warranties provided by certified roofing contractors.
Post-Project Dust Containment and Final Deep Cleaning Workflows
Completing minor home improvements or structural renovations leaves behind microscopic drywall dust and fine sawdust that settles across every household surface:
- Isolate active work zones during projects using plastic sheeting dust barriers and tension poles to prevent fine particles from migrating through HVAC ducts.
- Run a portable air scrubber fitted with a HEPA filter inside completed rooms for four hours post-construction to capture airborne dust particles.
- Vacuum all vertical walls, trim moldings, and window sills using a vacuum equipped with a sealed HEPA filter before attempting to wipe surfaces.
- Damp-wipe hard surfaces using a microfiber cloth lightly coated with a mixture of water and a few drops of rinse-free wood cleaner.
Taking a systematic, top-to-bottom approach to dust removal restores indoor air quality quickly after major building additions or remodels completed by local general contractors.
Maintaining a clean, functional home does not require sacrificing every weekend to tedious chores. By adopting targeted cleaning hacks, using surface-appropriate solutions, and addressing maintenance needs proactively, you can keep both interior living spaces and exterior hardscapes looking exceptional. Smart upkeep protects critical building materials from premature wear, ensuring your property retains its beauty, comfort, and value for years to come.